Posted By TeckWrap Craft On September 16, 2023

Applying a heat transfer vinyl logo on a plain hoodie is one of the best ways to personalize it and showcase what you or your team stand for. You can easily place the logo in the correct position on the left chest side, center, back, or the sleeve of the hoodie. The key is to have the right dimensions of the HTV logo at an ideal distance from the seams of the hoodie. Once this is achieved, you can perfectly apply the logo where you want it to be in vibrant colors, giving it a professional look.
Up until now, you've probably had more experience applying HTV designs to T-shirts or polos. Hoodies are definitely more complicated items to work with because of the seams and pockets. Misplacement can occur as you can print your logo too high, too low, or even off-center. If you’re placing a logo on the back of the hoodie, you may also have issues with the visibility of the design when the hood is down.
Are these the problems that you’re having trouble with as well? There’s no need to worry! In this article, we've provided a comprehensive guide for positioning your logo design on different parts of a hoodie. Read on to find out.
What Is Heat Transfer Vinyl?
Heat transfer vinyl is a must-have product in the crafting world. You can use it to customize all sorts of items such as clothing, accessories, and even soft home decor. This type of vinyl is different from regular craft vinyl because the adhesive backing on it requires heat and pressure to be activated. Once heat is applied, the material sticks to the surface permanently. The final result will have a professional, durable finish that can withstand multiple washes and wear.
Heat transfer vinyl is a highly versatile material. It is primarily used on fabrics such as cotton, polyester, and poly/cotton blends. You can also use it on a variety of other surfaces such as leather, metal, glass, and wood. This is actually the reason why heat transfer vinyl is the most popular choice of crafting materials for customizing clothing.
For more knowladege check out our blog about: best heat transfer viny for hoodies
Heat Transfer Vinyl Logo Placement Guide For Hoodies
Correct placement of the HTV logo plays a major role in determining the overall look. For hoodies, the following types of logo positions are common:
Left-Chest Aligned Placement
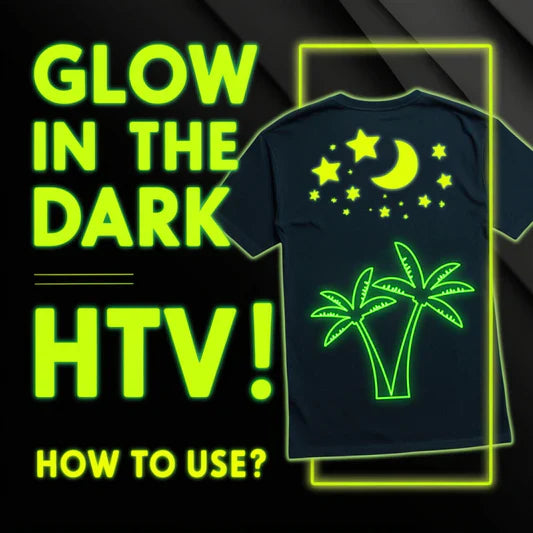
The backside logo placement is often favored for sports teams, streetwear brands, and special events where making a statement or creating a memorable impression is key. When someone wears a hoodie with a backside logo, they become a walking billboard, effectively showcasing the design to those they encounter. For it you should be use glow in dark heat transfer vinyl.
Center-Chest Placement
Placing a heat transfer vinyl logo at the center of the chest on a hoodie brings a bold and eye-catching design element to the forefront. This placement choice commands attention and serves as a focal point, making a strong statement with its bigger design.
Whether it's a brand emblem, a team insignia, or a personal design, a center chest logo on a hoodie creates a visual impact that resonates with wearers and those around them.
It's a departure from the traditional left chest HTV logo placement, offering a more prominent canvas for creative expression. The center chest logo is often associated with fashion-forward designs and contemporary streetwear, appealing to those who want to be distinctive.
On The Backside Of The Hoodie
Positioning a heat transfer vinyl logo on the backside of a hoodie is a design choice that is distinct and allows for larger and more intricate designs that can captivate attention from a distance. However, you will have to be very careful in placement as you do not want it to be inconspicuous when the hood is down.
The backside logo placement is often favored for sports teams, streetwear brands, and special events where making a statement or creating a memorable impression is key. When someone wears a hoodie with a backside logo, they become a walking billboard, effectively showcasing the design to those they encounter. For it you should be use glow in dark heat transfer vinyl.
Forearm Section Of The Sleeve
Placing an HTV logo on the forearm section of the sleeve of a hoodie offers a unique opportunity for personalization and branding while maintaining a subtle and sophisticated look. It's a design option that allows wearers to flaunt their unique style without overwhelming the entire garment.
The forearm section HTV logo placement is ideal for intricate or smaller designs or lettering. It is comfortable and functional and ensures that the design remains visible, even when the sleeves are rolled up.

Method For Left Chest Aligned HTV Logo Placement
The left-chest aligned placement of the heat transfer vinyl hoodie logo is the most popular and is typically used for company uniforms and sports jerseys. There are two methods for positioning a logo according to this placement style.
The First Method
- When choosing a logo, make sure that the print size is no larger than 4.5 inches in any direction. For circular or square graphics, the recommended print size is 3 inches on either side.
- Place the hoodie on a flat surface. Locate the point where the collar/neckline of the hoodie meets the shoulder seam. Trace a line down the garment towards the bottom hem of the hoodie. You can place a measuring tape straight to do so. This will be the center line for the logo.
- Next, place four fingers below the neckline and trace a line horizontally from the last finger. This is where the top of your logo should start.
Depending on the size of the garment, this measurement may need to be adjusted. However, once the center line has been located, determining the final position of the logo will not be that difficult. You can even eyeball it!
The Second Method
- Take a piece of paper and cut it to the size of your logo.
- Ask a friend or family member to put on the hoodie. You can also use a mannequin for this step if you have one.
- Locate the point where the collar/neckline of the hoodie meets the shoulder seam. Trace a line down the garment towards the bottom hem of the hoodie. This is the center line for your design.]
- Move the logo up or down this center line until it looks right. If you’d like a more precise measurement, take four fingers and place them below the neckline of the hoodie. Trace a line horizontally from where the last finger is positioned. This is where the top of the logo should start. Place your dummy paper logo here to gauge accuracy.
- Use tape to secure the paper cut-out in this position temporarily.
- Place the hoodie on a firm and flat surface. Use a ruler to determine the exact measurements for where the logo should be placed.
Method For Center-Chest HTV Hoodie Logo Placement
The logo on the center chest is typically 4 x 4 inches in size. To apply it complete the following steps:
- Place the hoodie on a flat surface.
- Locate the center of the neckline. You can use the position of the garment tag as a reference if you’re having trouble finding this point. Trace a line from this point towards the bottom hem of the hoodie.
- Next, locate the garment seam where the armpit area ends. Trace a line from one sleeve to the other along this point. You can also use a ruler for this step.
- The point of intersection of these two lines should overlap with the center of your heat transfer vinyl hoodie logo design.

Method For Logo Placement On The Backside Of The Hoodie
The process of placing a logo on the back of a hoodie or sweatshirt is slightly more complicated. The ideal placement of the design will vary depending on the type and size of the design. You can use the steps that we’ve sketched out as a general guideline for the process and adjust the position of the HTV logo according to your preference:
- Spread the back of a hoodie on a smooth surface.
- By measuring the center of the neckline, you can find the center of the back of the hoodie.
- Trace a line to 5 inches below the hood seam. This is generally the optimal position to place your logo, as it looks the most symmetrical here, while most of the logo can also be seen.
If you want the entire logo to be visible at all times, you can consider lowering the center below 5 inches from the hood seam, but that might risk off-centering the logo. It really does depend on the size and type of logo, as well as the particular cut and hood placement of your sweatshirt, so be sure to take all these factors into consideration!
Method For HTV Logo Placement On The Forearm Section Of The Sleeve
There are different ways in which you can display your heat transfer vinyl logo on the sleeve of your hoodie.
- If it is a small logo, its size should typically be 4.5 x 3 inches.
- If you want to display lettering on the whole sleeve the ideal size is 2.5 x 14 inches.
- The heat transfer vinyl logo looks good on the forearm, 4 inches down the shoulder seam of the hoodie on your bicep.

How To Apply Heat Transfer Vinyl Hoodie Logo?
The placement of your logo design won’t matter if your application of the vinyl isn’t done correctly. Hence you have to be perfect in this too. Here we have provided a step-by-step guide for applying the heat transfer vinyl hoodie logo.
Materials You Will Need
Weeding Tool: Once the logo is cut by the machine, you will need this to take out extra vinyl. You can use a weeder, tweezer, or a weeding pen for this all of which are easily available in the ‘Accessories’ section of TeckWrap Craft.
-
Heat Transfer Vinyl: Opt for the premium quality heat transfer vinyl. Visit the TeckWrap Craft online store to get the finest HTV in many different designs, colors, and finishes.
-
Heat Press Machine/Clothing Iron: You can apply the logo on the hoodie with a heat press machine or a dry iron. For a more professional and long-lasting performance, opt for the heat press as it will accurately and evenly apply heat and pressure for the required time.
-
Teflon Cover Sheet or parchment paper: You will need this to cover your logo design when heat is being applied to it so that vinyl won’t warp or scorch.
-
Cutting Machine: This is required for the precise cutting of your HTV hoodie logo design. The most commonly used ones are Cricut and Silhouette.
-
Cutting Mat: This is an essential tool with a grid that aids in cutting the vinyl when using an automated cutting machine. It ensures the accuracy of the cut and protects the blades of the machine and the surface underneath. It comes in different tack levels. For the HTV hoodie logo, you will use the one with standard tack that is green in color.
-
Weeding Tool: Once the logo is cut by the machine, you will need this to take out extra vinyl. You can use a weeder, tweezer, or a weeding pen for this all of which are easily available in the ‘Accessories’ section of TeckWrap Craft.
-
Pressing Pillow: You will place this between the folds of the hoodie so that seams do not interfere with the even application of heat and pressure to the logo design.
Step-By-Step Procedure Of HTV Hoodie Logo Placement
Here’s what you need to do for the accurate positioning and transfer of the HTV logo on the hoodie:
Step 1: Prepare The Hoodie
Pre-wash the hoodie to remove any oils or chemicals that can interfere with the adhesive properties of the vinyl. Do not use any fabric softener or bleach. Once it is dry, prepress it to remove all traces of moisture and creases that might interfere with the perfect adherence of the heat transfer vinyl logo.
Step 2: Choose A Logo Design
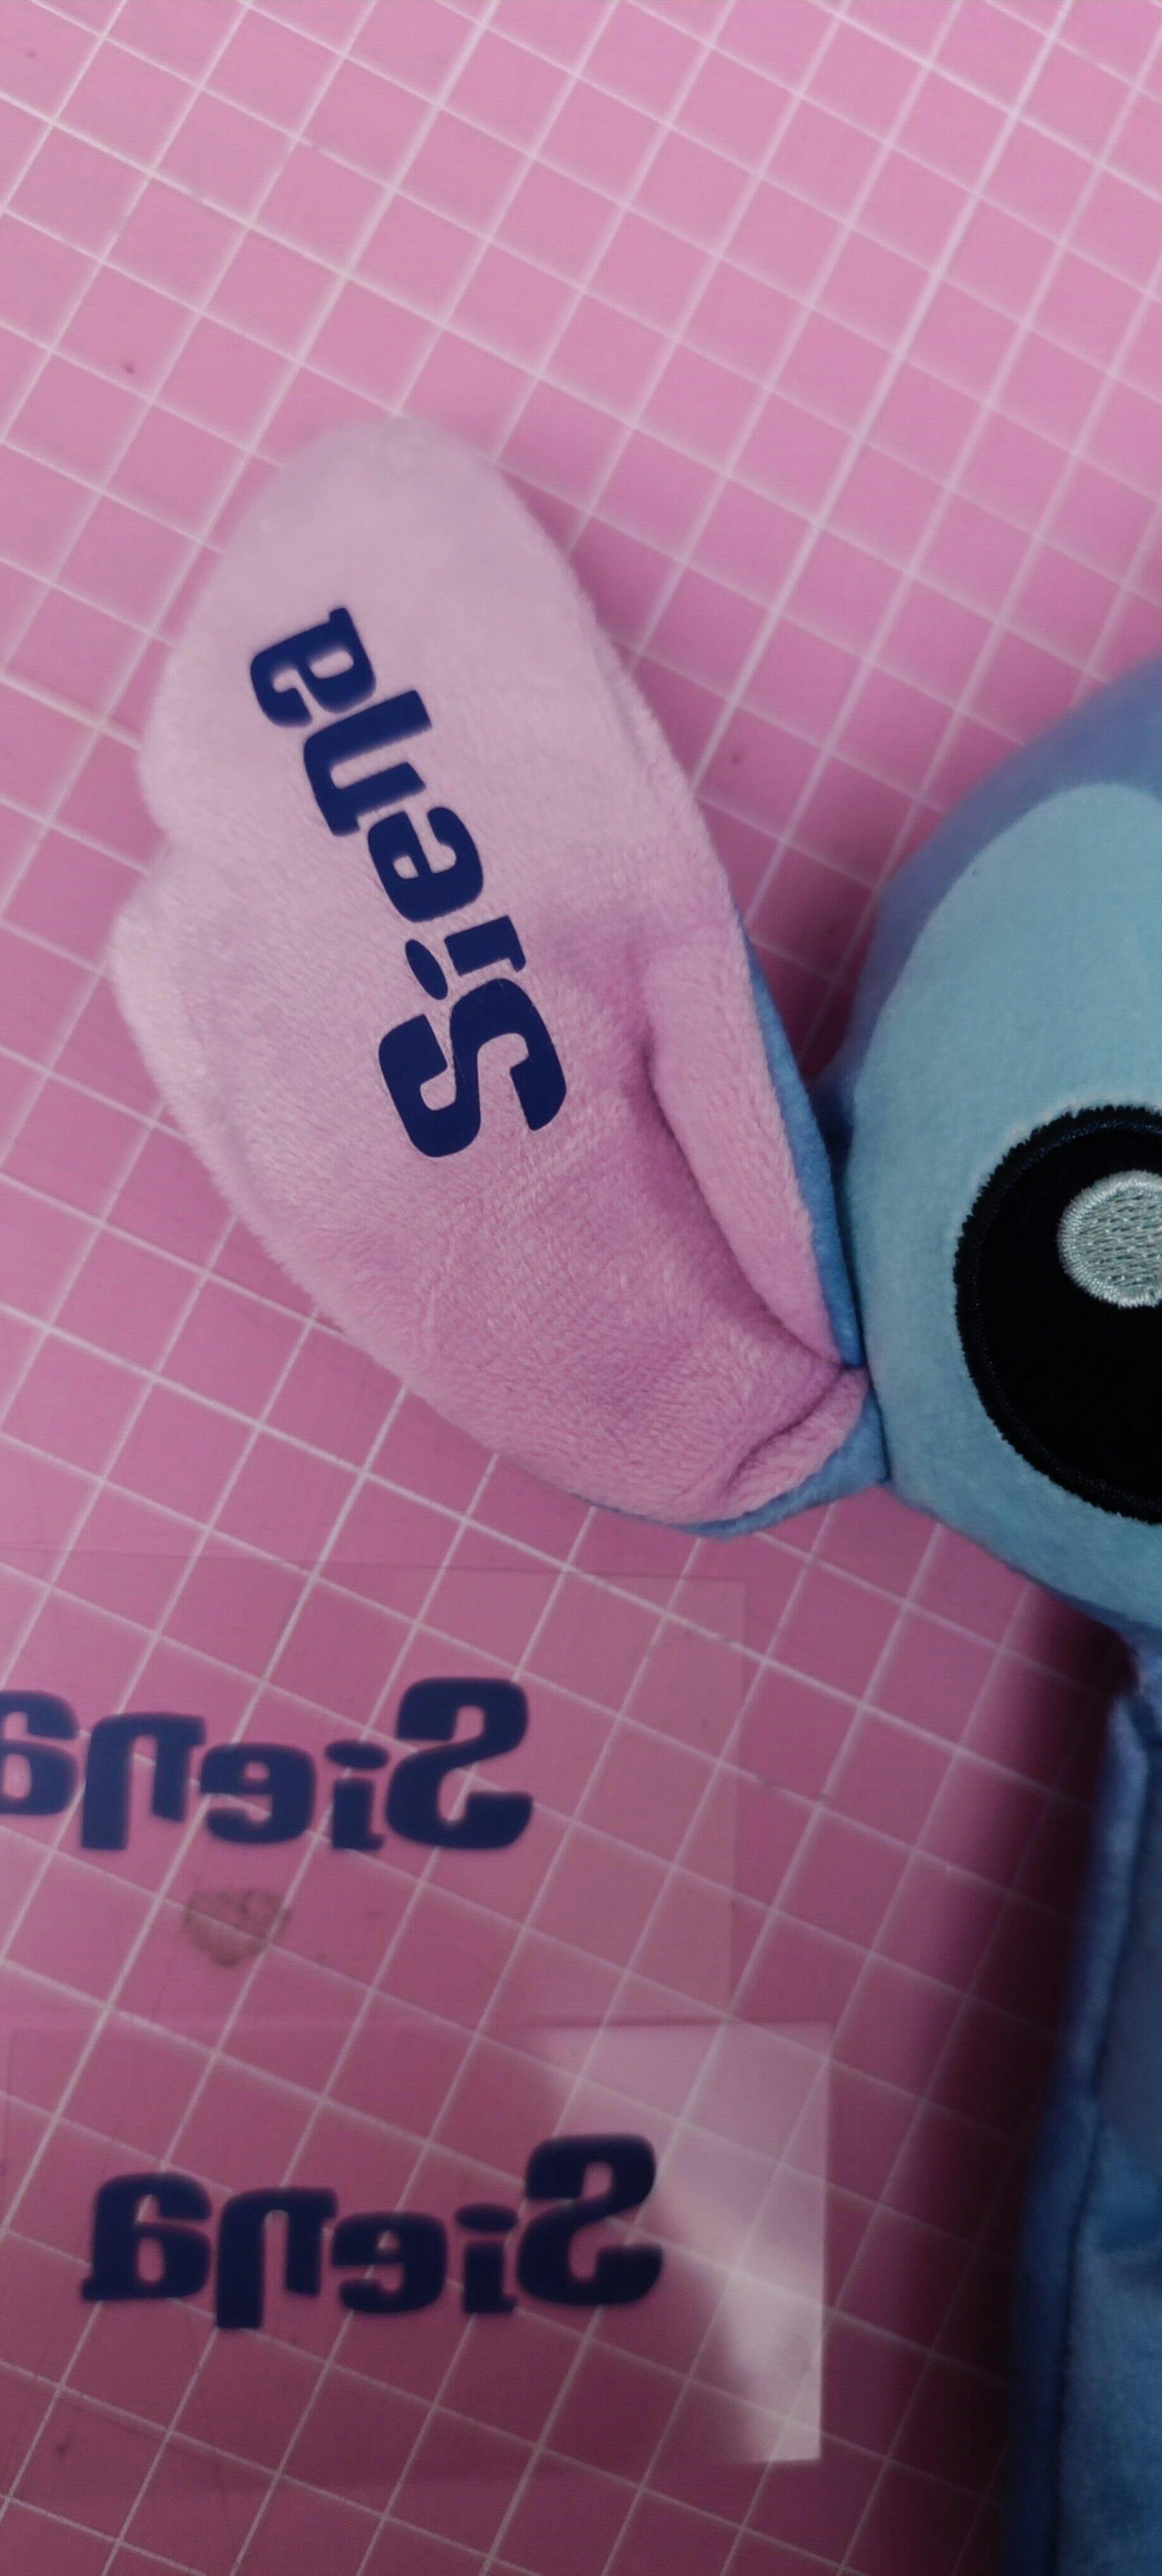
Decide on a logo that you want on the hoodie. If you already have a preconceived logo design, transfer it to the software that comes with the cutting machines such as Cricut Design Space or Silhouette Studio. Mirror the design, that is, flip it horizontally in the software.
Step 3: Set The HTV On The Cutting Mat
Choose the shade of the vinyl that matches the color of your logo. Cut it into a square or rectangular shape bigger than the size of your logo. The vinyl should be placed onto the cutting mat on the left-hand side aligning with the grid with the shiny side facing down.Choose the shade of the vinyl that matches the color of your logo. Cut it into a square or rectangular shape bigger than the size of your logo. The vinyl should be placed onto the cutting mat on the left-hand side aligning with the grid with the shiny side facing down.
The matte side, which is the adhesive, will face up. Use a scraper to press down the vinyl and ensure that it is firmly secured on the cutting mat. Now load the mat with the vinyl into the machine and give the command to cut. Make sure you have the right cut settings according to the finish of the vinyl you're using. We recommend a test cut first before the actual logo.
Step 4: Weed Your Logo Design
Remove the vinyl from the cutting mat then take a weeding tool that you are comfortable using and take out excess vinyl from your design until you’re left with only the desired image of the logo. You simply have to poke the negative vinyl piece and lift it. Start with the outer edge of the design first and then remove the unwanted vinyl pieces from the inside.
Step 5: Transfer The Logo On The Hoodie
Preheat the heat press according to the recommended temperature settings. This is specific to the type of heat transfer vinyl you’re using and is often listed on the packaging. Position the vinyl onto the sweatshirt according to the desired hoodie logo placement style. Refer to the detailed guide mentioned above. The shiny side of the logo should be facing up.

Place a heat press pillow between the folds of the hoodie under the design so that it is raised up. This will ensure that any seams or other hindrances nearby may not interfere with even application of heat and pressure on the heat transfer vinyl hoodie logo. Place the Teflon cover sheet or parchment paper on top of the design. This will protect both the garment and the vinyl design. Now apply the required heat and pressure for the recommended time.
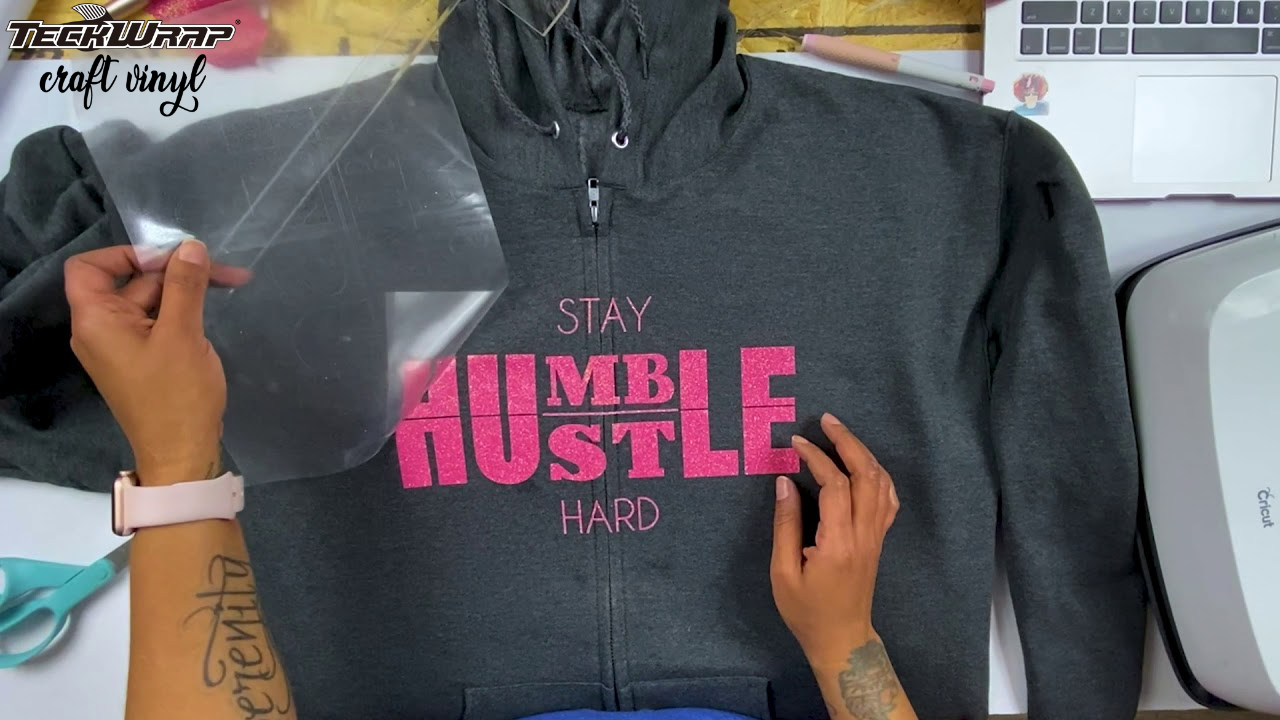
Step 6: Remove The Carrier Sheet
Once the time is up, you will have to remove the parchment paper and carrier sheet. If you’re using a ‘warm peel’ HTV, you’ll need to remove the sheet when the design is still warm. For a ‘cool peel’ heat transfer vinyl, let the garment cool down before removing it. If your logo design comes off with it, replace it, put the parchment paper again on top, and apply heat and pressure for some more time.
Once the carrier sheet is removed, you have successfully applied the heat transfer vinyl hoodie logo ensuring accurate placement. Flaunt and win praise!
Frequently Asked Questions
Q. Can the logo placement be readjusted after application?
No, you will not be able to readjust the placement of the HTV hoodie logo once it is applied as removing it can be quite difficult. You will have to make sure before the logo is transferred that it is being placed at the right spot on the hoodie as you planned.
Q. Can I wash the hoodie after applying HTV?
You cannot wash the hoodie immediately after applying the heat transfer vinyl logo as it needs time to cure and bond securely with the fabric. This may take 24 to 48 hours. During this period we do not even recommend wearing the hoodie to let the vinyl settle perfectly. Once this time has passed, you can wash it.
Q. What are the washing instructions for a hoodie with an HTV logo on it?
It is better to wash the hoodie with hands. Do not use harsh detergents or rub the hoodie against itself. Do not use any chemicals. Make sure to turn the hoodie inside out and wash it in cold water. It is better to dry it on a clothesline away from the sun.
Q. Which side of the heat-transfer vinyl should be facing down on the cutting mat?
The shiny side of the vinyl should be facing down when the vinyl is being placed into the cutting machine on a mat. This is because we have flipped the design horizontally on the software.
Q. Can I use a household iron to press my HTV logo on a hoodie?
Yes, you can use a household iron to apply the heat transfer vinyl logo on the hoodie. Choose the Cotton/Linen setting on the iron and turn the steam setting off. Place your hoodie on a solid, firm surface such as a table. Do not place it on an ironing board. Place parchment paper on top of the logo and apply firm pressure on the whole design. Do not move the iron to and fro.
Final Thoughts On The HTV Hoodie Logo Placement
Now that you know how to position and apply an HTV logo onto a plain hoodie and personalize it, it's time to show us your workmanship. The procedure for doing so varies only slightly compared to T-shirts and other garments.
If you read through this article closely, we’re sure you won’t run into any issues. Grab a few HTV rolls from TeckWrap Craft and add your logo to the hoodie making it distinct from others.