
Really great product! I love how teckwrap uses the top protective film because the highly reflective style of holographic films are very easy to scratch during transport or storage!!
Transfer Tape For Vinyl
Loading products...
Let customers speak for us
Samantha m
Great quality
Great product, easy to use and good quality.
Printable Heat Transfer Vinyl
Briona Williams
Highly recommended
I absolutely love using TeckWrap vinyl for my craft projects! The vinyl cuts clean, weeds easily, and the colors are vibrant and long-lasting. I’ve used it on multiple projects and it holds up beautifully. Definitely a go-to brand for Cricut users and small business crafters. Highly recommend!
TeckWrapCraft
Marcela Romo Vallejo
Excelente!!!
Lo recomiendo 100% Me encanta el resultado! Fácil de aplicar! Excelente!!!!
PU Basic Colors HTV Sheets Pack (13PCS)

Lucia Gonzalez
Printable heat transfer vinyl
I loved it and referred my friend to purchase it . I am sure she will love it too!
Printable Heat Transfer Vinyl

Celty
Best company ever
As a small business, this is the only company I use for my transfers. The quality is out of this world and my customers always rave about it too. The customer service is flawless and they are so kind. Great product! Great people! Great company!
Reflective Heat Transfer Vinyl

Peggy Allen
Must have for any crafter
Great to Cut, weed, layer and apply!!
001 Series 30ft Craft Vinyl
Kathy Gloss
Printable Heat Transfer Paper 11X17 paper pack
This product worked great on a darker hoodie. Very happy with the outcome.
11“x17" Printable Heat Transfer Paper
Peggy Allen
LOVE THIS COLOR
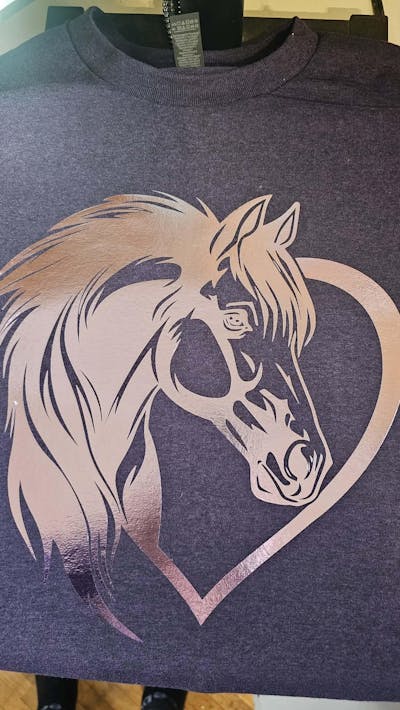
Love these metallic colors and how they pop on shirts and bags
Metallic HTV Sheets Pack
Peggy Allen
AMAZING PRODUCTS
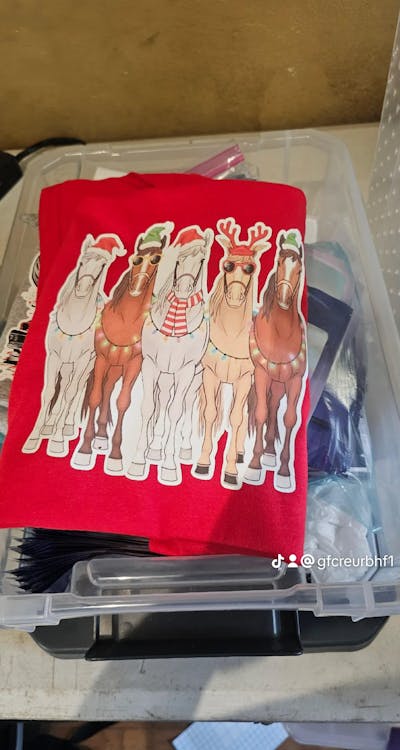
Teckwrap is the only HTV printable I use
Printable Heat Transfer Vinyl

Samantha Woods
I finally tried shrink plastic for the first time, and I’m so glad I chose this brand! The sheets shrank evenly, the colors stayed vibrant, and the finished charms came out so smooth and sturdy. I made a little takeout-and-fortune-cookie keychain, and the details turned out perfectly. I’m officially hooked and already planning my next project!
TeckWrapCraft
Lorraine Cillo
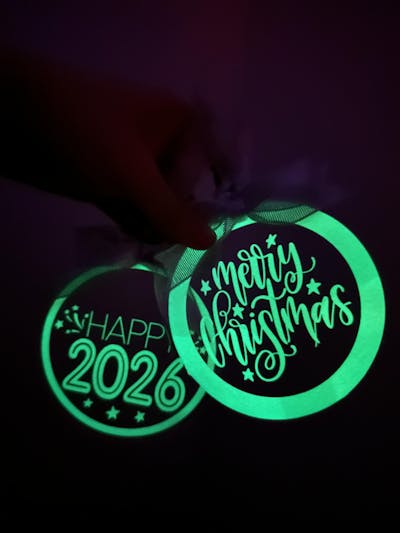
Unbelievable Glow
As soon as I received it, I tried it out in the dark! The glow is so bright unlike other glow in the dark vinyls I’ve tested before! This is so worth it and I’m sure my customers would love it too. It’s a good thing I bought 2 rolls immediately cos it’s so hard to find this specific vinyl.
Opal White Glow in the Dark Vinyl

Adalondondesigns
Quality satisfied. I am a small crafting business using teckwrap in all my products. Here is my social media link:
https://www.tiktok.com/@adalondondesigns?_t=8qf46piwc1x&_r=1
https://www.instagram.com/adalondondesigns?igsh=dzRwaHZteWNsdG54
TeckWrapCraft
LT
Great Product & Company
Always satisfied with my orders. Shipping is quick, and the vinyl quality is consistently top tier. Highly recommend!
Bubble Free Holographic Rainbow Adhesive Vinyl
LT
Always satisfied with my orders. Shipping is quick, and the vinyl quality is consistently top tier. Highly recommend!
TeckWrapCraft

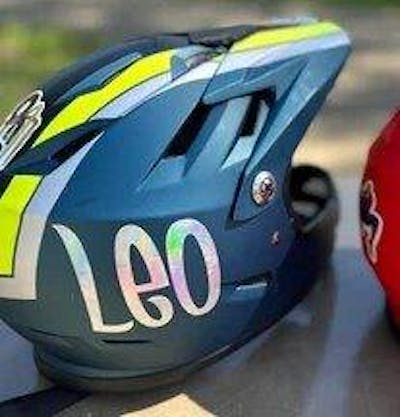
Anonymous
Teck Wrap vinyl stickers was really amazing even the smallest letter or character easy to use.
TeckWrapCraft
What customers think about the store
TeckWrap Craft offers high-quality vinyl products that are easy to use, vibrant in color, and durable. Customers praise the ease of weeding and transferring the vinyl, as well as the longevity of the finished projects. The variety of colors, textures, and fini...
AI-generated from customer reviews.
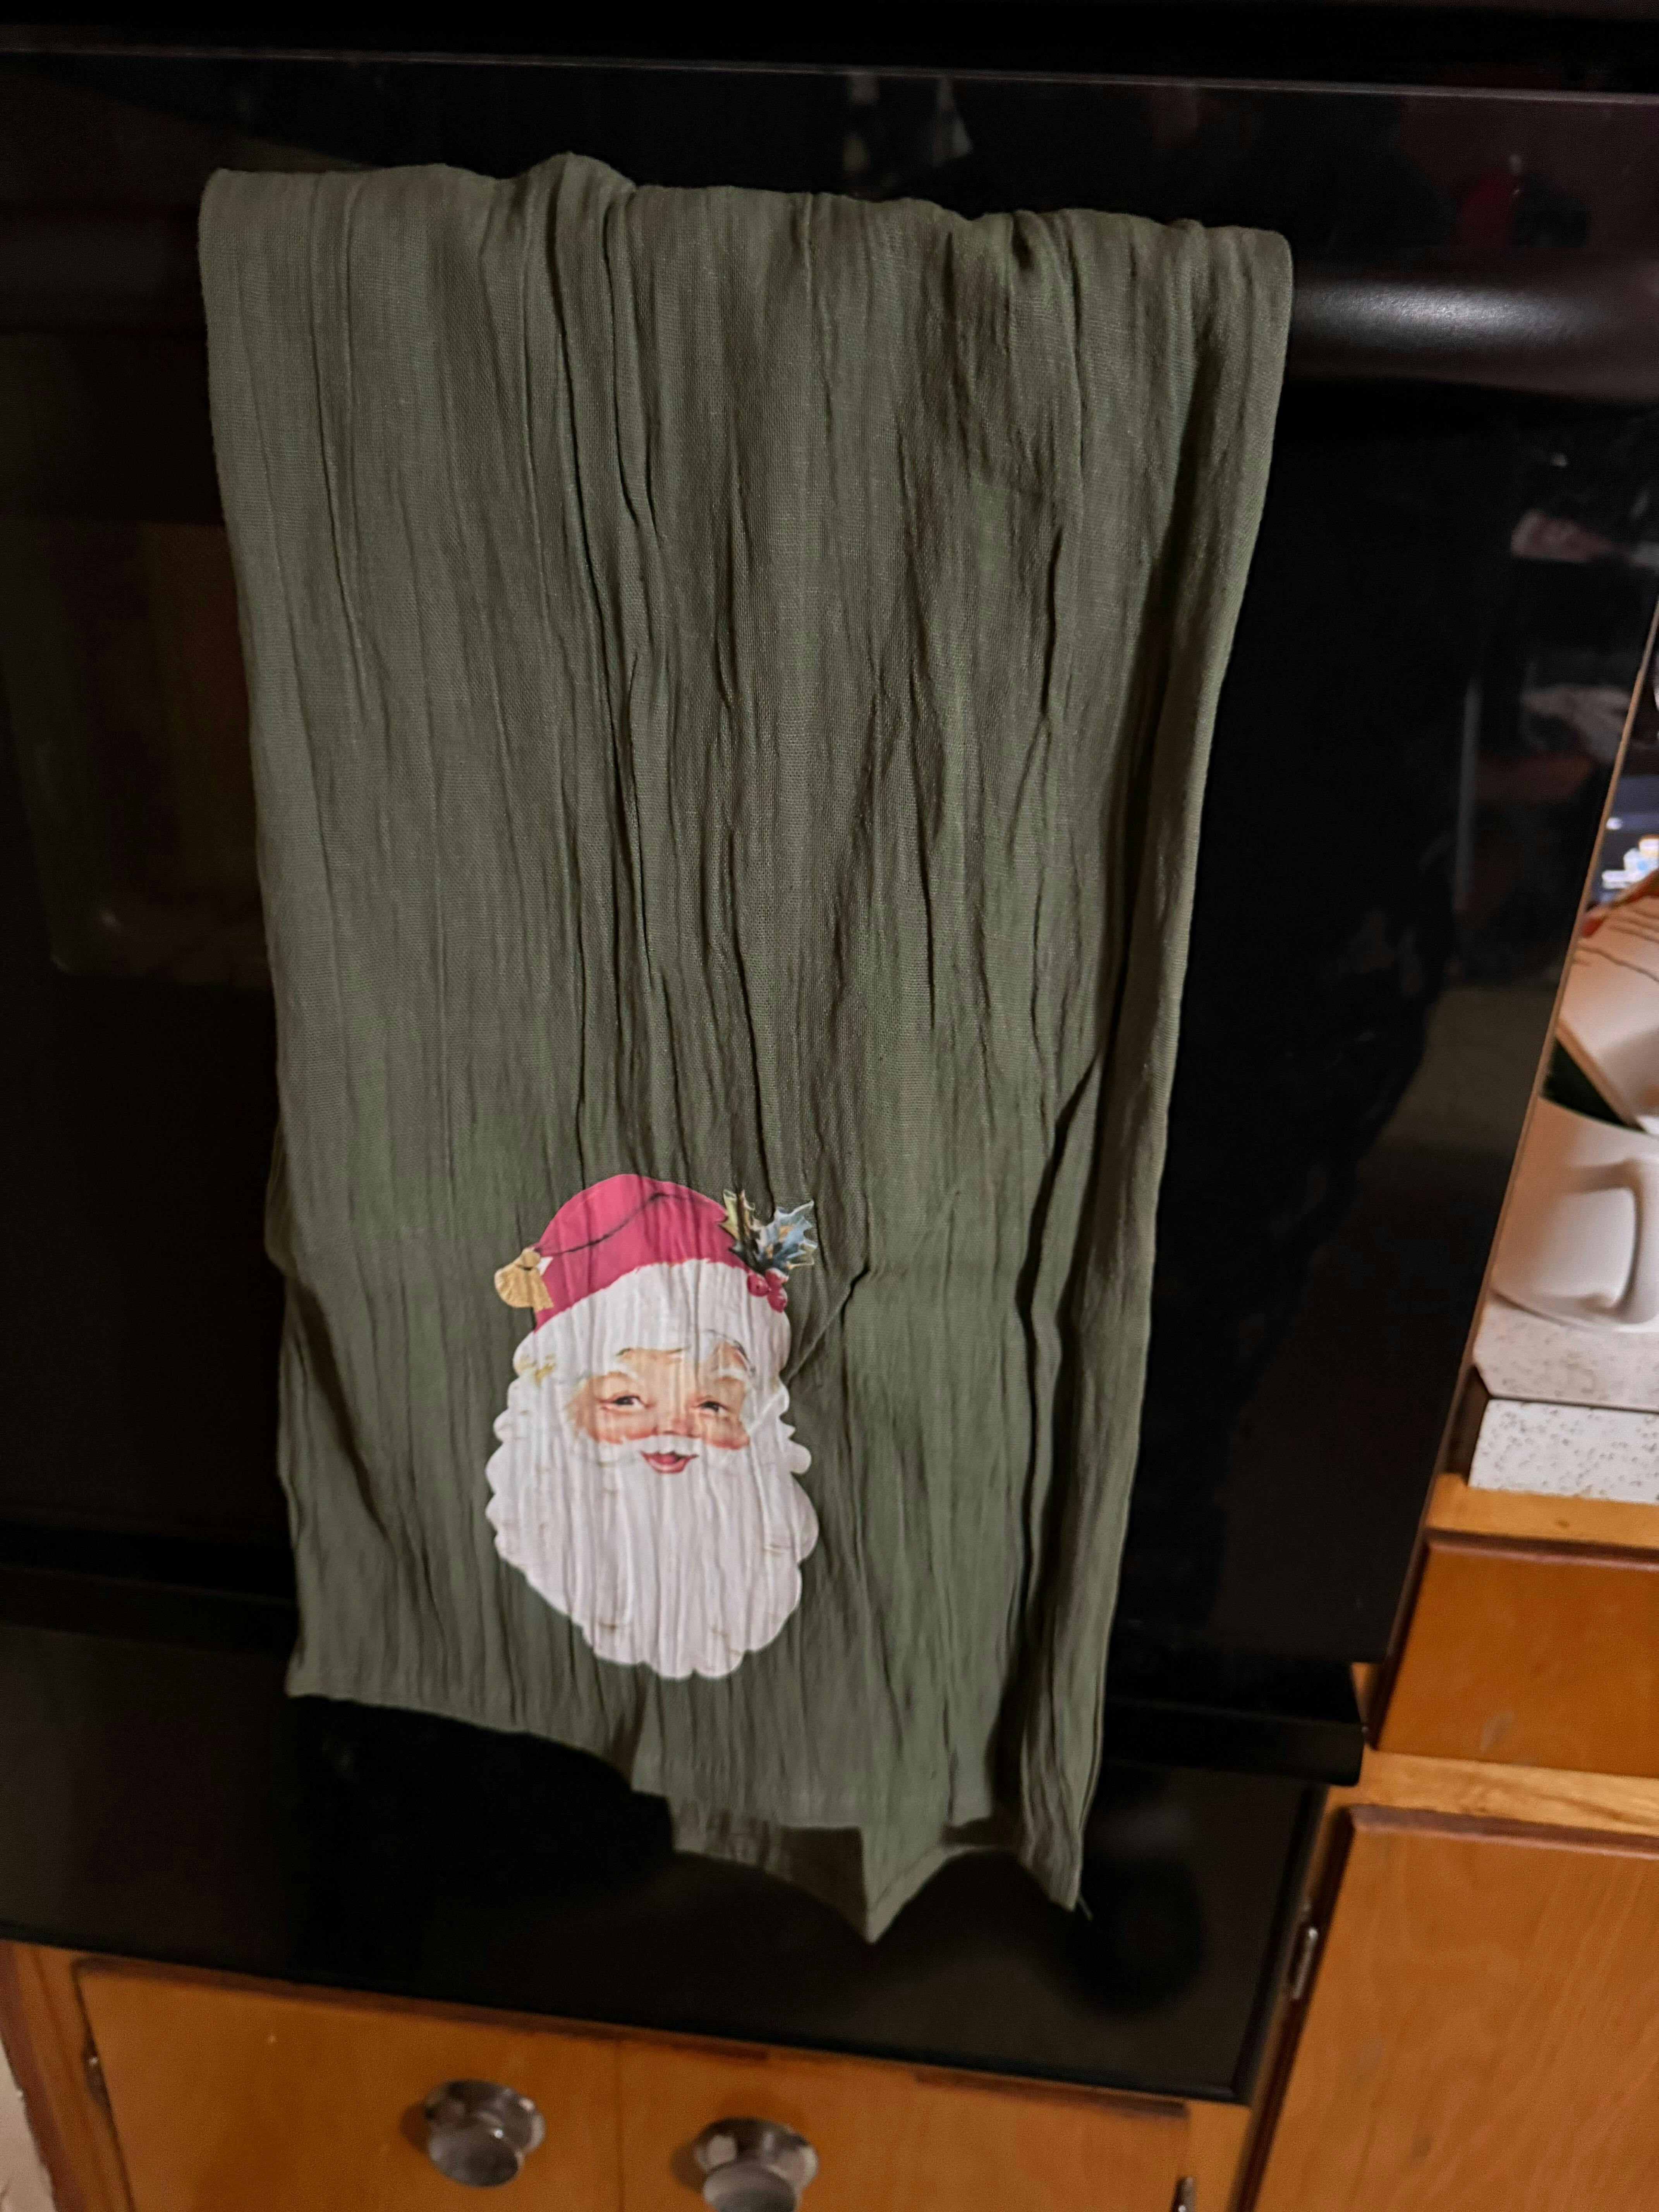
Color Transfer Vinyl Weed
So you are ready to apply your permanent adhesive vinyl decal to the wooden wall hanging that you have crafted with love. What do you need for a successful transfer? The TeckWrap Craft Transfer Tape. One of the most important tools for avid crafters, it is a thin, pressure-sensitive film with a sticky backing that is used to apply vinyl decals, stickers, and graphics to compatible surfaces with correct alignment. It comes with or without a grid and helps in perfect installation, making the job easy and time-efficient.


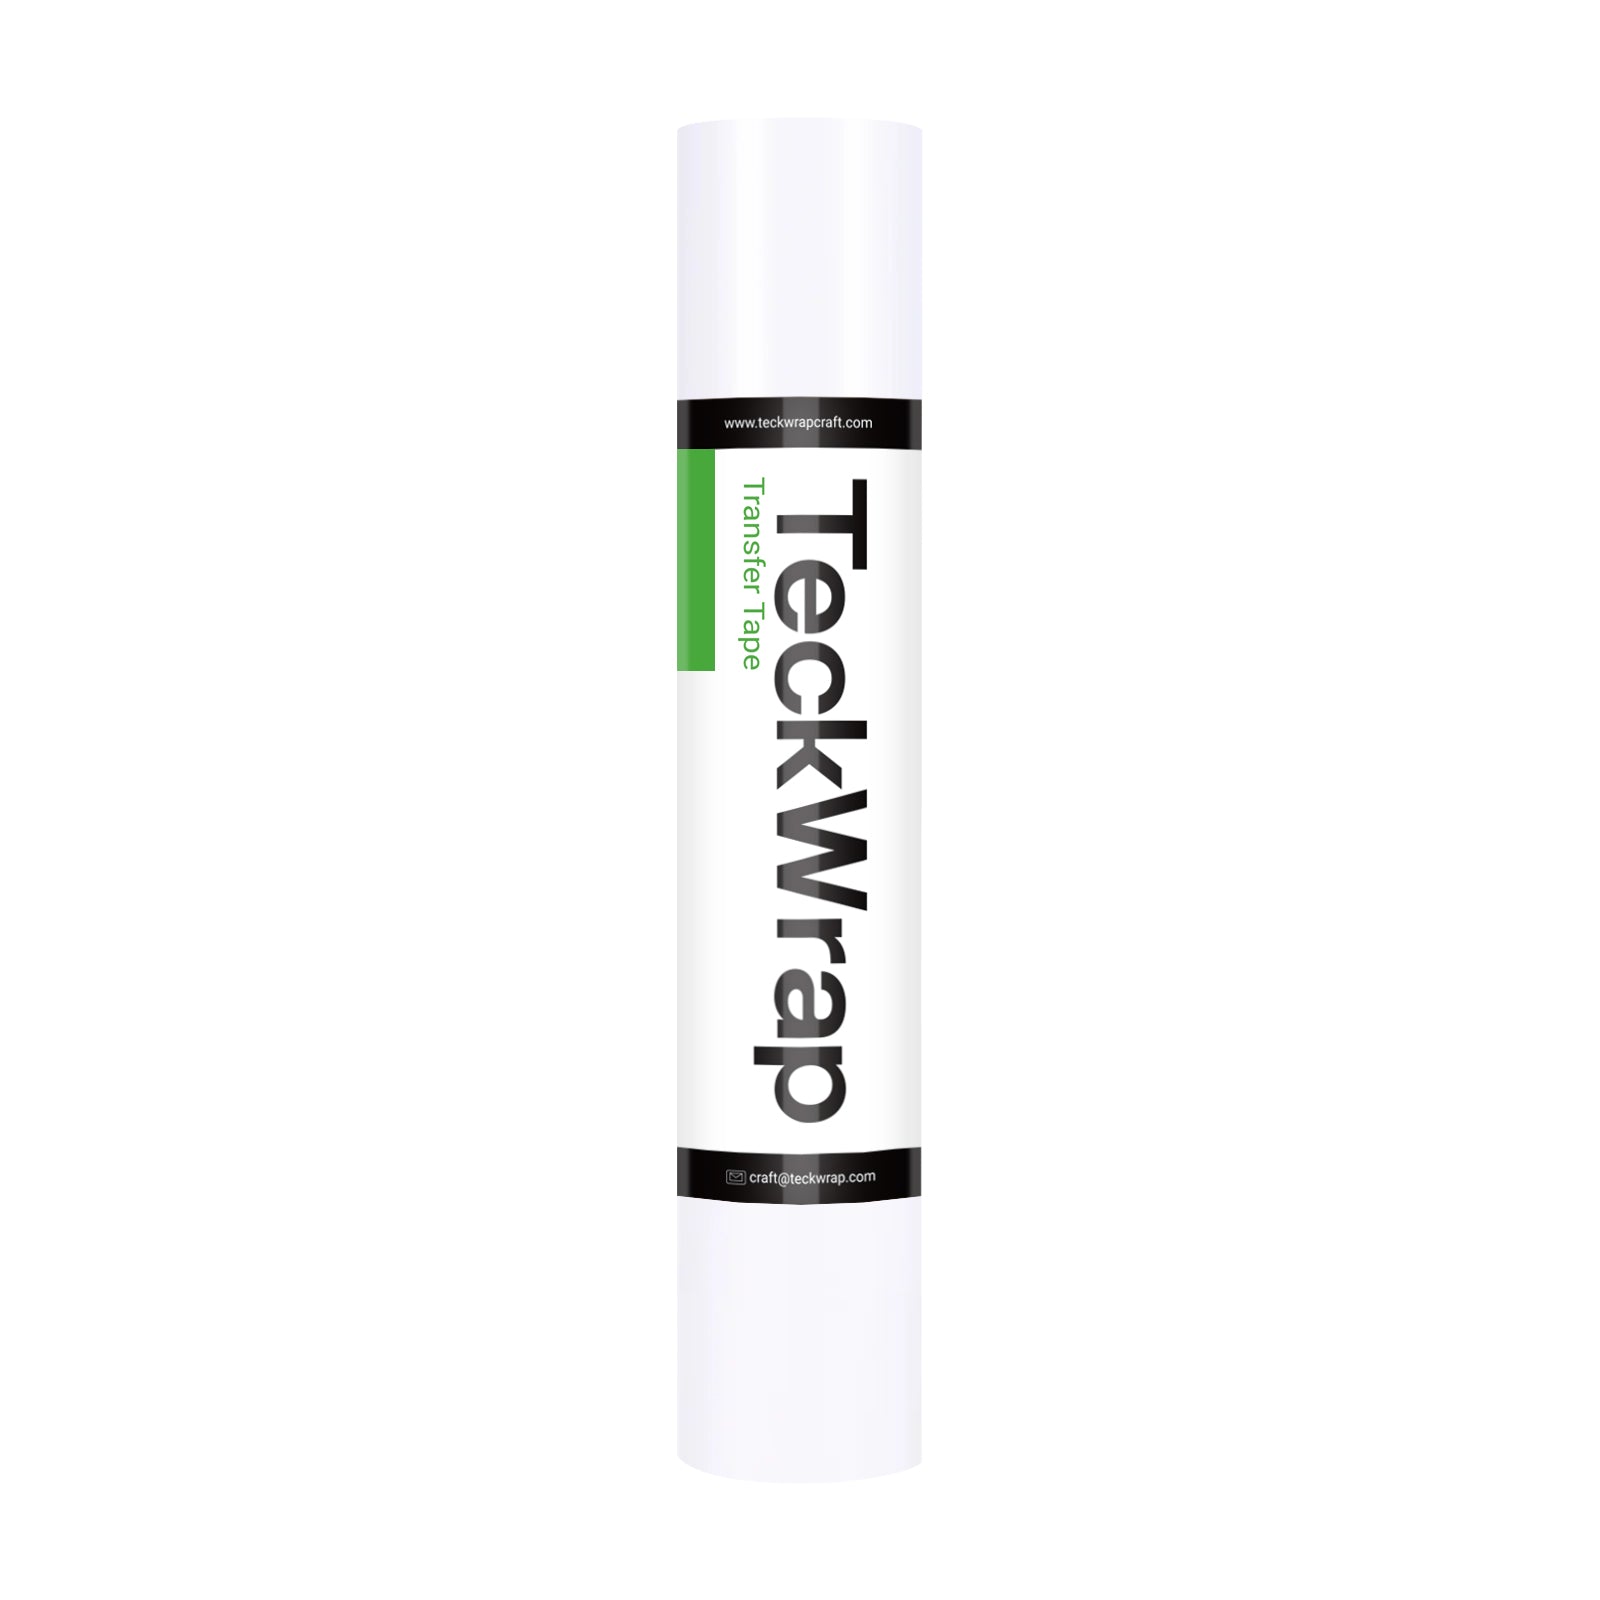
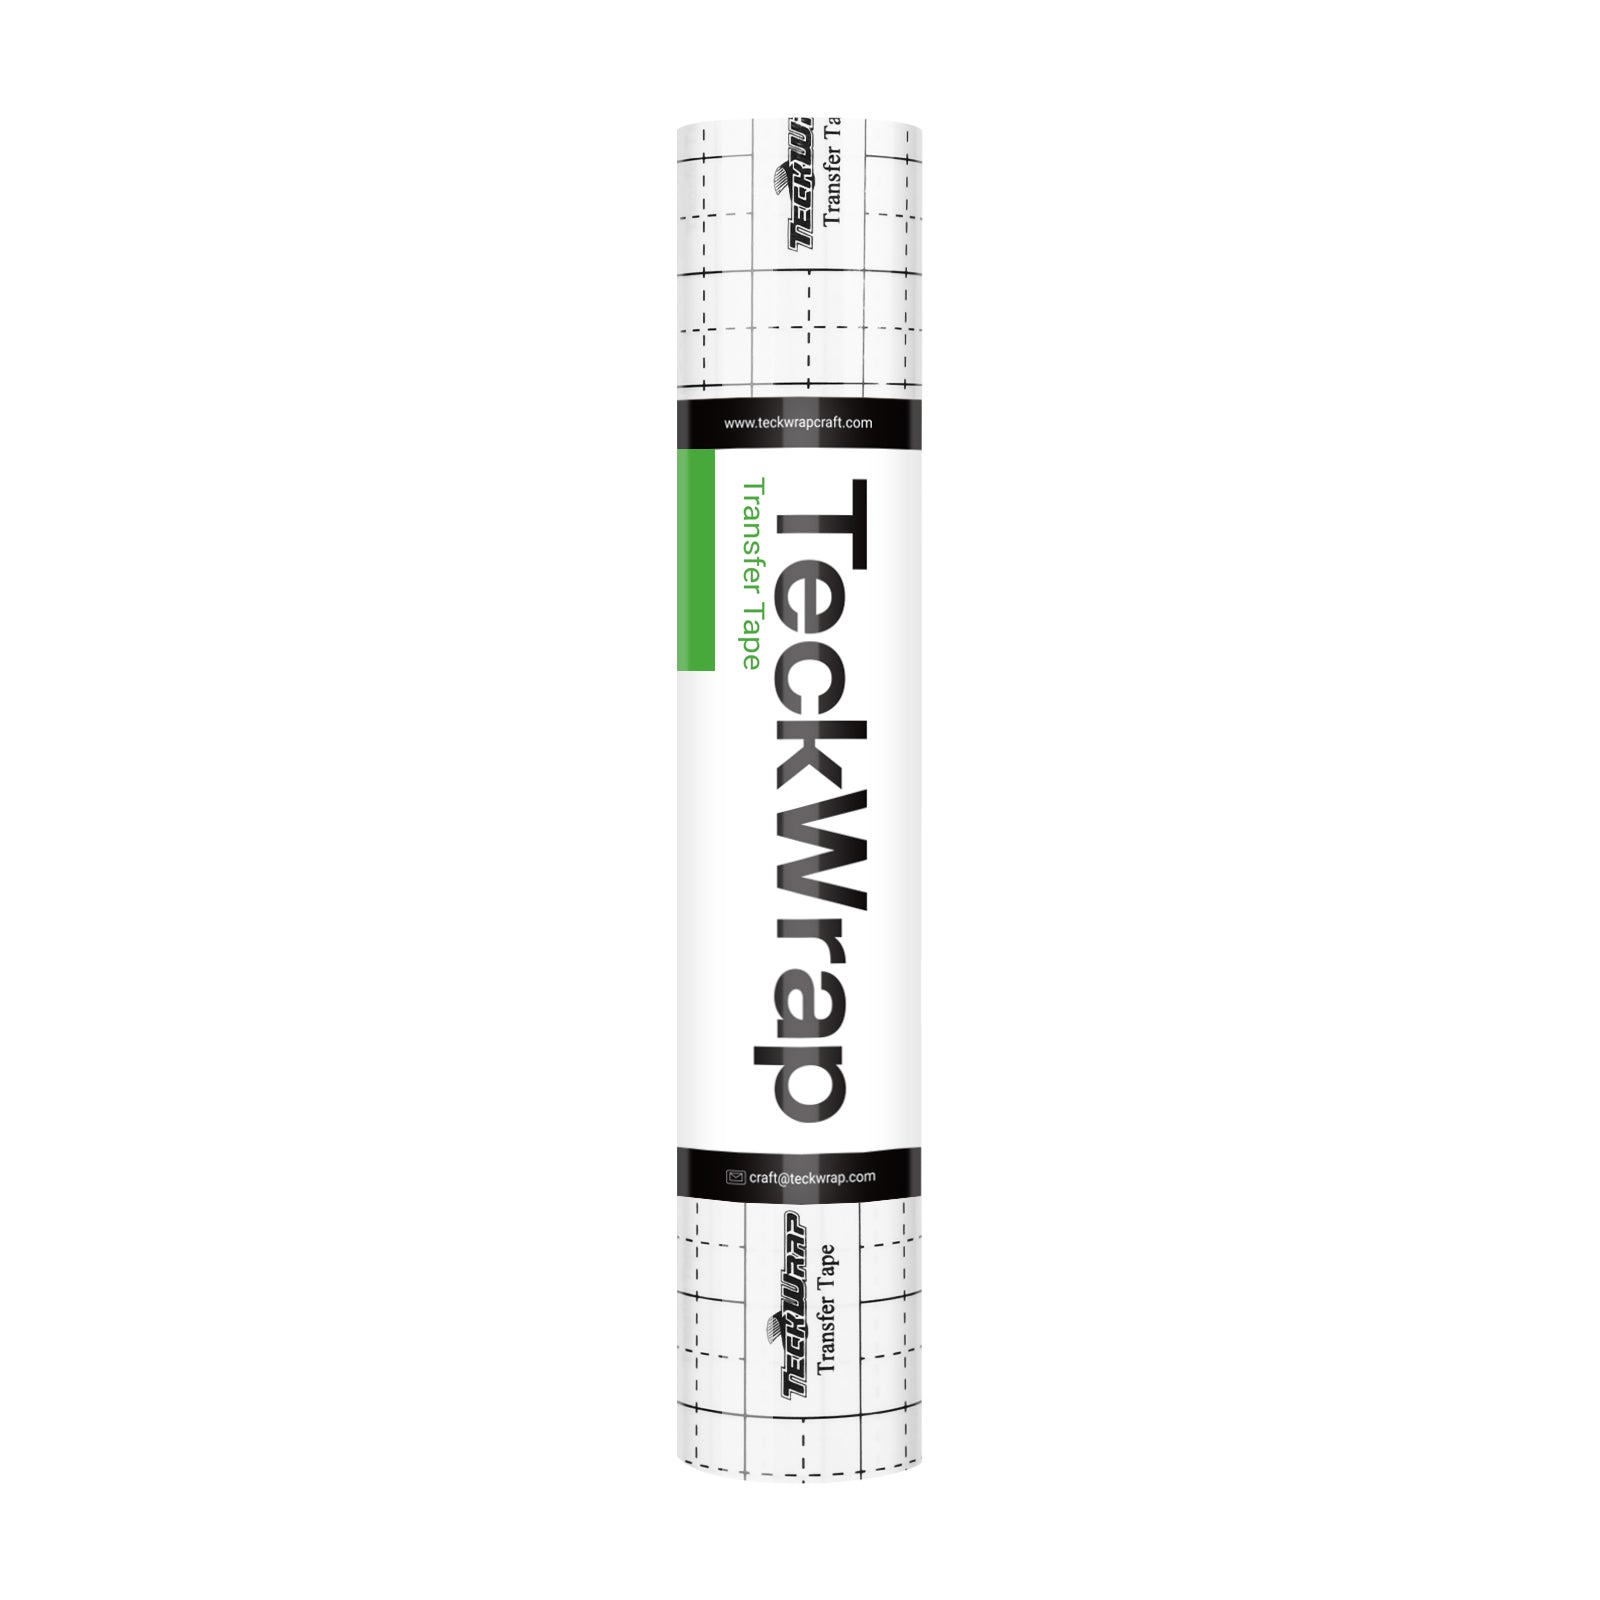
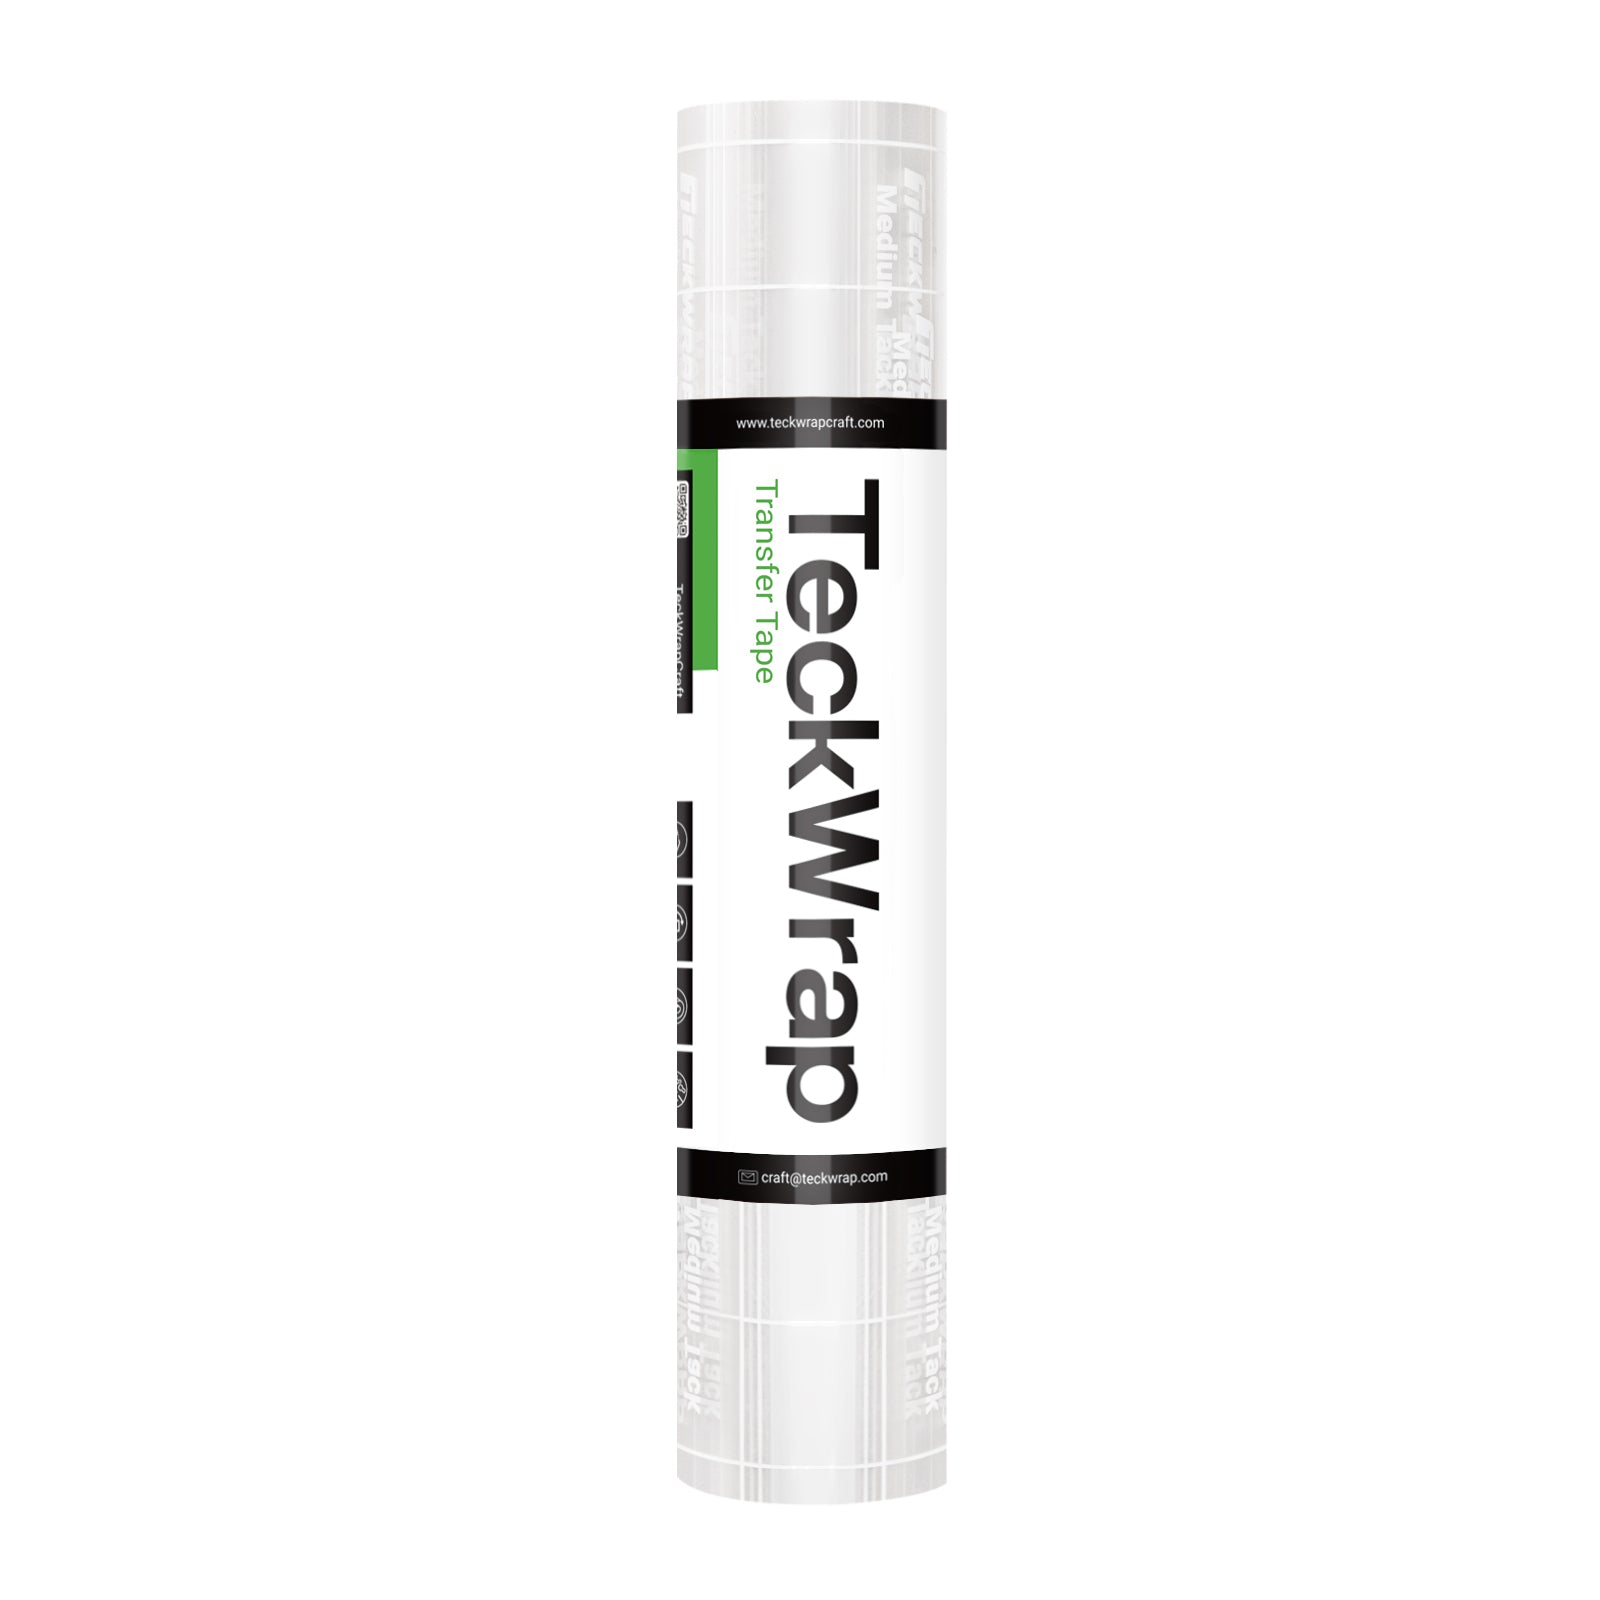
The Superb Variety In Transfer Tapes
Our transfer tapes are available in three variants: low, medium, and high tack. You also get two different sizes in these, 6-inch and 12-inch widths. There is a variety in lengths as well, 20ft and 82ft, so you can create both small and large-sized projects. You can get these with or without grids. However, if you opt for the one with grids, you will get great help in the correct alignment of your design on the surface.

How To Use Transfer Tape?
Our transfer tape is quite easy to use. Make sure that the surface of your substrate is smooth, non-porous, and completely clean. There should be no contaminants or grease marks on it for the strong adherence and long-lasting performance of your craft. Here’s what you should do:
-
Cut the Transfer Tape: After cutting your design and weeding out the extra vinyl pieces, cut a piece of the transfer tape from the roll. It should be bigger than your pattern to cover it completely from all sides.
-
Apply It to Your Design: Remove the backing paper from the transfer tape and apply it to your design. If you are a newbie, it is recommended to use the one with the grid for correct alignment.
-
Burnish it with a Squeegee: Take a squeegee with a soft, felt edge and slide it over the design with slight pressure to help adhesion and allow smooth coverage. Be gentle yet firm.
-
Remove the Backing from the Vinyl: Now, slowly remove the backing of your adhesive vinyl. You will see that your design is now stuck to the transfer paper. If any of the small pieces have not adhered to the transfer tape, stick it over the design again and burnish with a squeegee. Now lift it again, ensuring that your design is completely on it.
- Apply Your Decal: Apply your vinyl design on the blank where you want it to be, and burnish with a squeegee again using slight pressure. Make sure that your design has adhered to the surface of your blank perfectly.
-
Remove the Transfer Tape: When you are sure that your design has adhered to the surface, slowly remove the transfer tape at an angle. Do not lift it vertically. Keep it close to the surface while removing, and that’s it. Admire your workmanship.

Superb Features Of Our Transfer Tape
-
High Performance and Long-lasting: It is durable and easy to use. It keeps the different pieces together during transfer without tearing or stretching.
-
Great Compatibility: It is compatible with a variety of vinyl materials and surfaces, so you can work easily on different projects.
- Different Adhesive Strengths: You can select among the different tack levels of our transfer tape depending on the adhesive vinyl you are working with.
-
Clean Transfers: Their adhesive won't damage the surface or leave any sticky residue.


- Choosing a selection results in a full page refresh.
!